
A small back tattoo has plenty of breathing room, but that does not make placement automatic. A design near the shoulder blade feels different from one beside the spine, and a tattoo that looks centered in a mirror may shift when you move.
Start with the part of your back you actually want to use, then let the subject, visibility, and amount of detail narrow the choice. The goal is not to fill empty space. It is to give a small design a clear home.
Compare the main back placements
The upper back gives a small tattoo a broad, fairly calm area. A centered design can sit below the neckline, while an off-center design can follow one shoulder blade. Check the placement with several shirts so you know whether the tattoo will be hidden, framed, or partly visible.
A tattoo close to the spine naturally reads as vertical. Short stems, lettering, narrow symbols, and stacked shapes can suit that direction. Lower-back placements have a different relationship with waistbands and swimwear, so photograph the area in clothes you wear often before deciding.
Choose the butterfly view before centering it
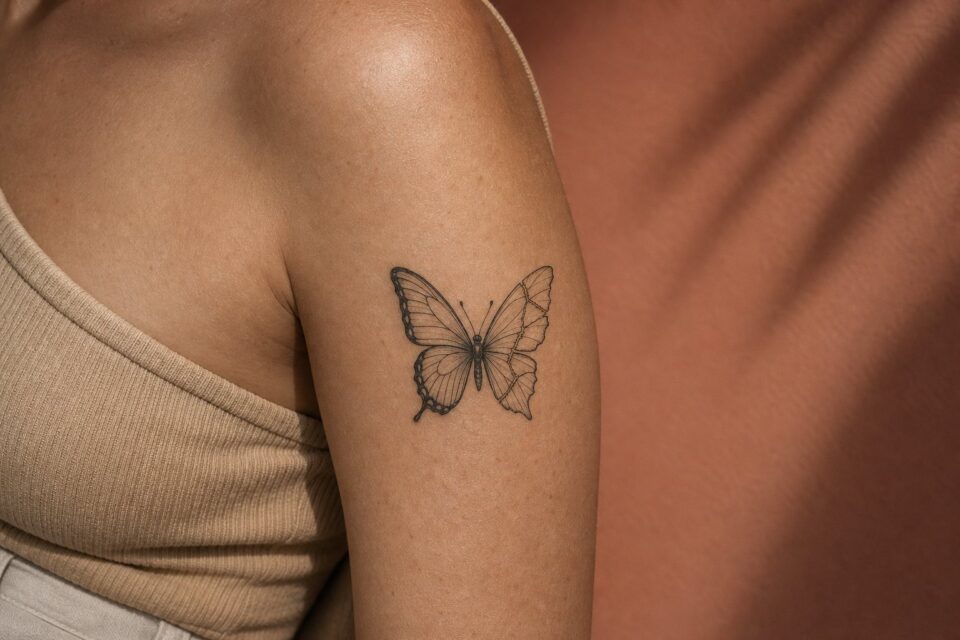
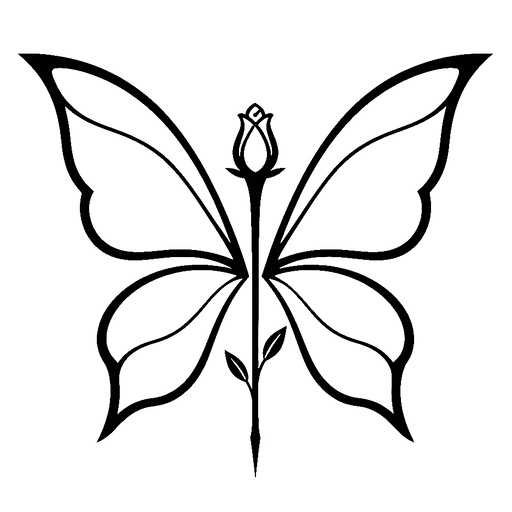
An open-wing butterfly can sit near the nape or between the shoulder blades, but a side view often works better beside the spine or near one shoulder blade. A slight turn can keep the design from feeling like a stamp in a large empty area. Photograph paper versions from behind with the shoulders relaxed. The position should make sense without relying on a perfectly straight mirror pose.
Give a small design enough size
The back can make a tiny design look smaller than expected because there is so much open skin around it. Ask the artist to show the idea at a few nearby sizes instead of choosing a measurement from a screen. A modest increase can make the shape feel intentional without turning it into a large tattoo.
Fine detail still needs room. If the design includes petals, feathers, handwriting, or several separate objects, decide which part carries the meaning. Removing a secondary detail often protects the idea better than squeezing every reference into a small outline.
Check direction and movement
A shoulder blade moves as the arm reaches forward. A small tattoo placed on or near that edge can change shape slightly with posture, which is normal. Ask to see the stencil while standing naturally and again with the arm moving so the main view still feels right.
Direction matters with animals, faces, arrows, plants, and lettering. There is no universal rule that every subject must point inward, but the choice should be deliberate. Look at the design from behind, from the side, and in a photograph taken at normal distance.
Plan visibility and choose the artist
You may want the tattoo to disappear under work clothes, show with an open back, or sit where you can reveal it on your own terms. Tell the artist which clothing lines matter. A placement that is technically hidden can still peek out when fabric moves.
Look for healed small tattoos in the artist’s portfolio, especially work on backs, shoulders, and other areas with wide open skin. Clear spacing, confident lines, and sensible detail are more useful evidence than a single close photograph taken immediately after the appointment.
Test the placement before you commit
Print the rough design at a few sizes and tape it to a fitted shirt over the area. This is not a substitute for a stencil, but it can show whether the tattoo feels centered, too close to a clothing edge, or much smaller from across the room than it did on a phone.
Take photographs in ordinary daylight from straight behind and from a slight angle. Avoid twisting to see the area in a mirror, since the twist changes the shoulder blades and spine. Review the photographs later, when you are not trying to make an immediate decision.
At the appointment, ask for enough time to look at the stencil with your arms relaxed. Check the top and bottom edges, the direction of the subject, and how it sits beside the spine or shoulder blade. Small position changes can matter more than adding another detail.
Design for room distance before close detail
A back piece is often seen as a whole from several steps away. Begin with silhouette, major dark-light masses, and one or two focal points. Tiny interior stories can come later. If the composition works only in cropped close-ups, the available scale is not doing its job.
Print a rough shape and photograph it on the full back. Compare several sizes. A design that seems enormous on a laptop may feel appropriately proportioned between shoulders and hips.
Use anatomical landmarks as structure
Shoulder blades, spine, waist, ribs, and the transition to the neck and hips create a natural map. A composition can centre on the spine, deliberately offset from it, span both shoulder blades, or travel diagonally. Symmetry is one option, not the default.
Photograph neutral posture and ordinary movement. The artist can decide where a face, central flower, animal head, or geometric axis remains stable and where secondary forms can flex.
Assign visual jobs to every major element
Choose a lead image, supporting forms, background movement, and resting space. The lead should remain clear without colour or detail. Supporting elements can establish place, time, or story, but they should not demand equal contrast.
Do not confuse size with importance
A large background form may exist to carry movement, while a smaller object holds the private meaning. Hierarchy is about visual entry, not emotional ranking. Explain both to the artist.
Plan the edges as carefully as the centre
Decide how the piece approaches the neck, shoulders, sides, waist, and lower back. Hard rectangular endings can feel accidental unless they are part of the style. Tapering shapes, open skin, repeated direction, or deliberate frames create closure.
Consider clothing lines without letting one garment dictate the whole design. A back piece may appear differently in swimwear, open-back clothing, and everyday shirts. Choose whether partial reveal is welcome.
Edit narrative material before drawing begins
Large space does not require every meaningful object. Too many equal symbols can turn the back into a scrapbook. Place the story on a timeline or map, then select the few sources that can carry multiple ideas at once.
For example, one landscape may contain a family place, a route, and a season. One figure’s gesture may carry a relationship without literal portraits of everyone involved. Let scale deepen the chosen material rather than multiply it.
Understand the project process
Ask the artist how they plan large compositions, when body tracing or in-person drawing happens, how sessions are staged, and how adjustments are handled. Confirm rates, deposits, cancellation terms, travel needs, and documentation. Keep expectations written.
Follow the studio’s preparation and aftercare directions for each session. Personal health questions belong with a qualified healthcare professional. Large-project planning is not medical advice.
Select from complete-project evidence
Look for healed backs and other large work showing edges, transitions, negative space, and body movement. Review the artist’s ability to maintain hierarchy across a broad area. One striking central image does not show how they resolve the rest.
Send full-back photographs, existing-tattoo information, ranked source material, the main visual sentence, preferred coverage, and examples from that artist’s portfolio. The back offers generous space, but restraint and structure are what turn that space into one piece.
Decide how much of the back piece is for public viewing
A tattoo can be personally important even if you rarely see it without mirrors or photographs. Ask whether the placement’s privacy, scale, or relationship to the body is the main attraction. This affects how much literal explanation the design needs and how you document it for yourself.
Set boundaries for studio and portfolio photography before sessions begin. Discuss whether your face, identifying marks, or full body will appear and whether images may be published. A clear photo agreement lets the artist document substantial work while respecting that a back piece may occupy an intimate or usually covered area.
Plan how you will personally view the finished composition. Neutral full-back photographs, a trusted person’s description, and mirrors offer different information. Ask for one image that shows the body scale and another that preserves detail, without requiring a public post.
Keep those images with the source brief and session record. Because you cannot glance at a back piece like a wrist tattoo, private documentation can become part of how you live with and remember the project’s full structure.
When assessing the photos, avoid correcting your posture to make the tattoo perfectly symmetrical. Use the stance you normally have. The artist designed for a living back, and ordinary asymmetry is part of that body relationship rather than a flaw to hide with posing.
Keep one unposed reference as the baseline for judging later additions around the piece.