
A tattoo consultation is a working conversation, not a test you have to pass with a perfect design. Your job is to explain the story, priorities, references, and practical preferences clearly. The artist’s job is to assess fit and describe how they would approach the piece.
Bring plant evidence before tattoo inspiration
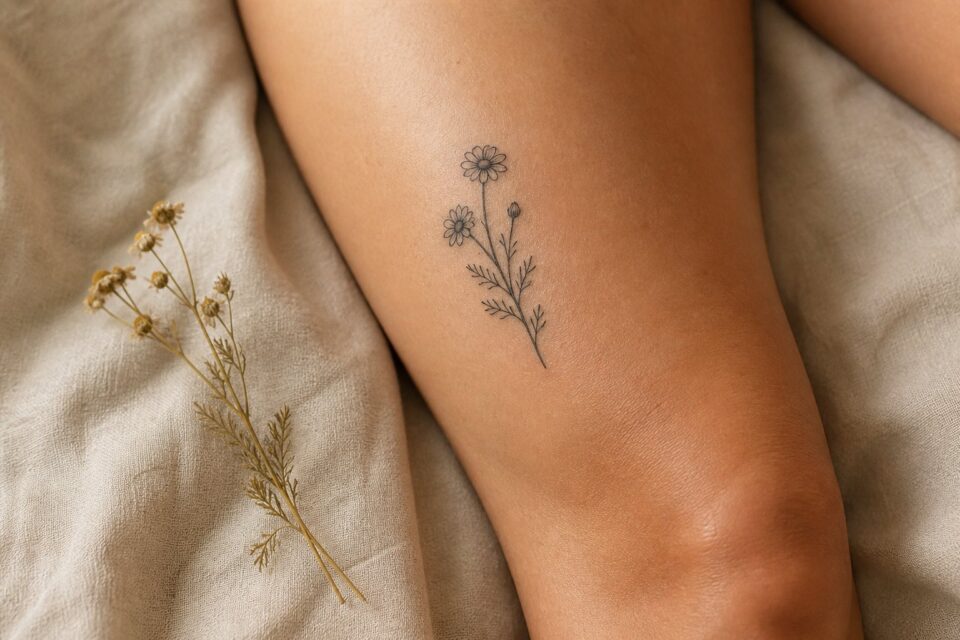
Include a clear photograph of the whole plant, one close view of the identifying detail, and a note about why that specimen matters. A pressed leaf can help with proportion, but leave fragile or protected material at home and photograph it instead. Label tattoo references only for line weight, spacing, or placement. The artist needs to see the plant you care about, not a collage of other people’s finished flowers.
Prepare a one-page idea note
- Story: two or three sentences about what the tattoo should hold.
- Subject: one main direction and one possible alternative.
- Essential detail: the part that cannot be removed without losing meaning.
- Mood: a few visual words such as quiet, graphic, organic, or direct.
- Placement: one or two areas you are considering.
- Scale: a preference, with room for the artist to advise.
- References: a small set labelled by purpose.
Bring original photographs, handwriting, objects, maps, or other references when relevant. Confirm that you have permission to use material made by someone else.
Explain priorities instead of directing every line
Say what the tattoo must communicate and where you are flexible. For example: “The window shape and three marks matter; the background does not. I prefer an abstract interpretation and I am open to a larger size.”
If you dislike something, name the quality: symmetry, heavy shading, literal representation, tight detail, or prominent lettering. Clear boundaries are more useful than vague instructions to “make it unique.”
Questions worth asking
About the design
- Which details would you keep, remove, or reinterpret?
- What size and placement support the composition?
- How does this idea fit your current work?
- What additional references would help?
About the process
- What happens between consultation and appointment?
- When and how is the design reviewed?
- What are the deposit, rescheduling, and cancellation terms?
- Which payment methods and identification are required?
- Where can I find your preparation and aftercare information?
Ask health questions specific to you of a qualified healthcare professional. The artist can explain their process but should not be treated as a substitute for personal medical advice.
Write down what was agreed
Record the subject, placement, approximate scale, next step, price or estimate if provided, deposit terms, and any references still needed. Use the artist’s official channel for follow-up.
You do not need to book immediately if the fit feels unclear. A good consultation should leave you with a better understanding of the design process, even if the right decision is to continue researching.
Separate design questions from health questions
A consultation is the right time to ask how the studio works, what the artist expects before the appointment, and how they explain aftercare. Write those questions down so they do not disappear once you start discussing the drawing. If you have a medical condition, take medication, have a history of unusual skin reactions, or are unsure whether tattooing is appropriate for you, ask a qualified medical professional rather than relying on a general article or social post.
For background reading, the FDA’s tattoo and permanent makeup fact sheet covers tattoo inks and reported concerns, while the American Academy of Dermatology’s guide covers care for tattooed skin. Bring any remaining questions to the consultation and listen for clear, specific answers.
You do not need the artist to promise that nothing can go wrong. You do need them to explain their process in a way you understand, including what they need from you before the appointment and whom to contact if something does not look right afterward.
Prepare the story in two minutes
You do not need a polished speech. Write the subject, why it matters, approximate placement, size range, and the feeling you want. Practice saying it in ordinary language. A concise start leaves more time for the artist to ask questions and explain their approach.
Separate firm decisions from preferences. “The handwriting must come from this card” is firm. “I was imagining the inner forearm but I am open to the upper arm” is a preference. The distinction prevents flexible details from sounding like demands and protects the parts that truly matter.
Bring a labelled reference folder
Include personal source material first: photographs, handwriting, objects, maps, or sketches. Add a small number of visual references with notes such as “open spacing,” “solid black edge,” or “quiet colour.” If a finished tattoo appears, identify the quality only and make clear that you do not want it copied.
Use original files rather than compressed screenshots when detail matters. Bring context around a crop, especially for handwriting and memorial images. The artist may see useful information outside the part you initially selected.
Share relevant body and routine information
Wear clothing that lets you discuss the proposed area comfortably, following studio instructions. Mention existing tattoos nearby, scars or skin concerns, work clothing, jewellery, devices, and movements that affect placement. Ask a qualified healthcare professional about personal medical questions; the artist can explain studio process but is not your clinician.
Bring photographs if privacy or clothing makes the area difficult to show during an initial remote consultation. Do not send intimate images through an unofficial channel. Ask what the studio needs and how it handles them.
Questions about the design
- Which part of the idea would you keep as the visual leader?
- What would you simplify at this scale?
- Would another placement support the shape better?
- How much of the composition will be decided on the body?
- Can you show relevant healed work from your portfolio?
- Which source files do you still need from me?
You are listening for reasoning, not a predetermined answer. The artist may propose a direction you had not considered. Ask how it serves the subject and body, then take notes.
Questions about process and money
Confirm the estimated appointment length, rate or estimate, deposit, accepted payment, rescheduling policy, drawing-review procedure, touch-up policy, and whether another appointment may be needed. Policies vary, so record the studio’s actual answer rather than assuming.
Ask when and how the final design is normally seen. Some artists review beforehand; others make adjustments on appointment day. Decide whether that process fits your comfort before paying.
Notice pressure and unclear boundaries
You should be able to ask about placement, scale, and changes without being mocked. The artist should also be able to decline work outside their style or comfort. A productive consultation allows both sides to say no.
Pause if payment instructions conflict with official studio information, policies are withheld until after payment, or you are pushed to copy another artist’s tattoo. Verify the booking channel independently. A full calendar or large following is not a reason to skip basic clarity.
Write the agreement immediately afterward
Record subject, priorities, placement, approximate size, style direction, price information, deposit status, source material still needed, and the next contact date. Send a brief confirmation if the studio does not provide one. Keep receipts and policy links.
You do not have to book during the conversation. Compare what you heard with the portfolio and your own boundaries. A good first consultation should make the process more understandable, whether it ends with a date, a revised idea, a referral, or a decision to keep looking.
Sort your notes before deciding
Mark clear agreements in green, points needing confirmation in yellow, and boundaries or policy conflicts in red. A yellow item might be final scale or appointment length; a red item might be copying another artist, unclear payment identity, or pressure around consent. Do not let enthusiasm turn red questions into forgotten details.
Send one concise follow-up containing only unresolved factual points. The quality and clarity of that reply are part of the fit. When everything is settled, save the confirmation with the brief and source files so appointment-day memory does not have to carry the whole agreement.
Prepare a short appointment-day card from the notes: exact spelling, fixed count, source file name, agreed placement range, and any boundary you might forget under pressure. This is not a new brief. It is a factual check for details that cannot be recovered after the tattoo begins.
Keep the card private and review it before final stencil approval. Once those facts are confirmed, put it away and focus on the design as a whole. An organised check should reduce anxiety, not turn the appointment into constant supervision.
Bring identification, payment method, comfortable clothing, and any item the studio specifically requested. Do not copy a generic preparation list over the artist’s instructions. Confirm the studio address and appointment time through the official message thread so a saved social post or old location does not send you to the wrong place.